A truly fresh face takes ten minutes and a handful of lightweight products, but only if you stop before one critical mistake. Most people skip it entirely: skin prep. Without a hydrated, smooth base, makeup catches on dry patches and you compensate with more product than the look can hold. A minute of absorption time for moisturizer, one with SPF built in, lets you use less of everything that follows.
1. Skin Prep
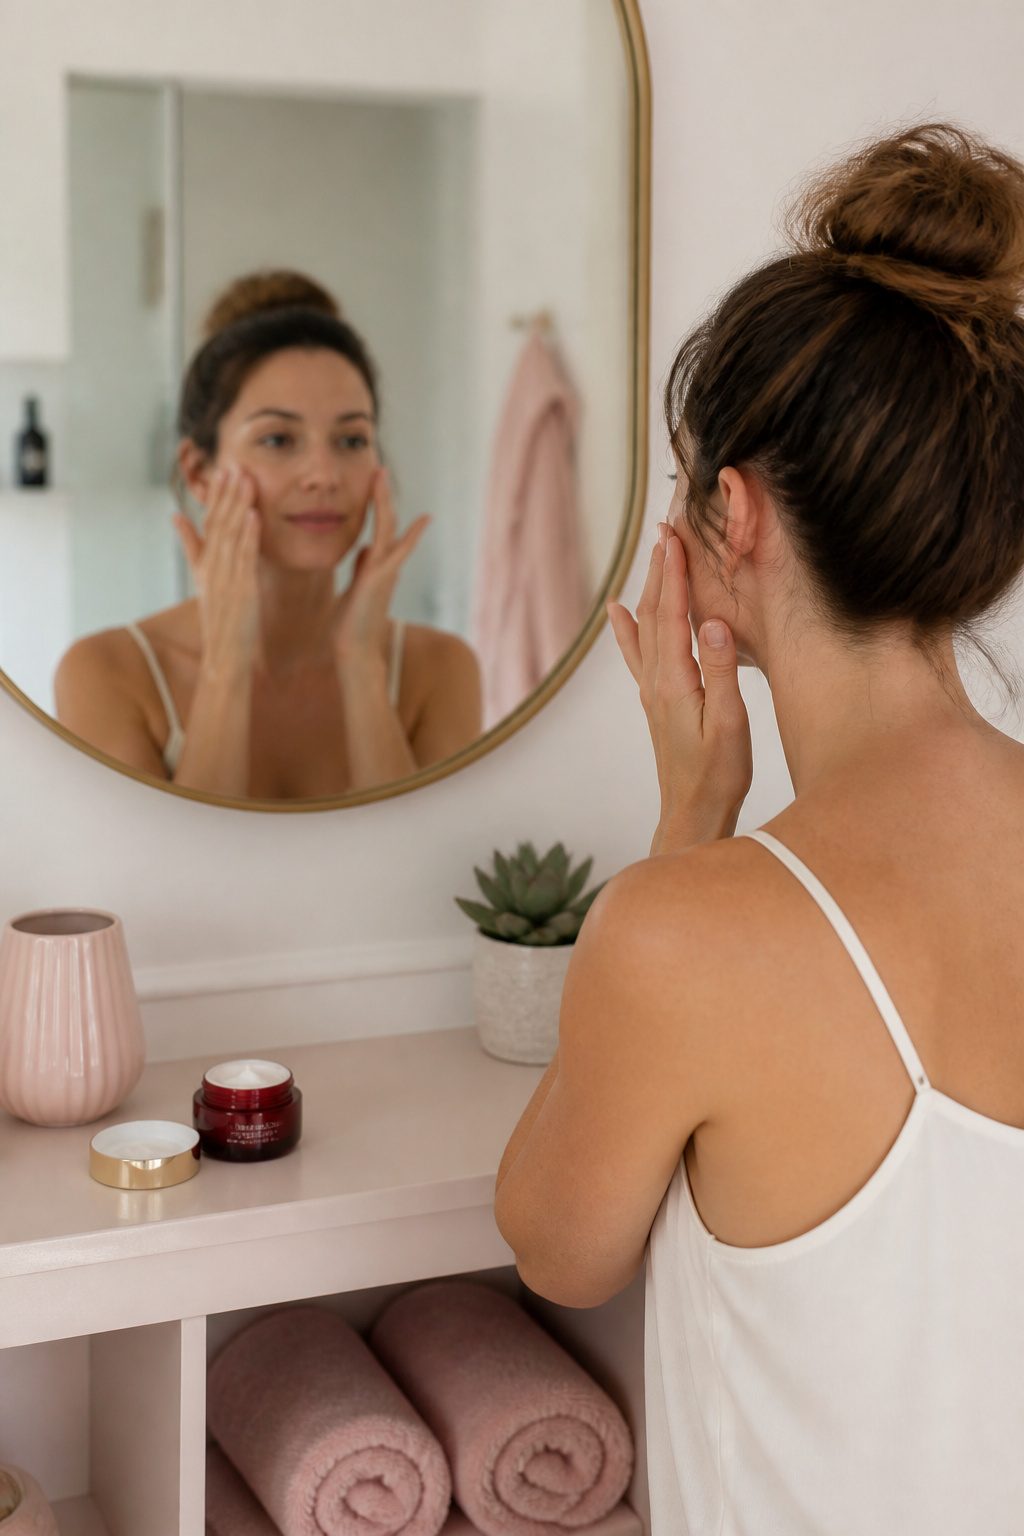
The best very light makeup looks start with skin that is actually ready to receive it. I learned this the hard way after too many mornings of watching foundation catch on dry patches that I had talked myself into ignoring. Now I wash my face first, every time, then follow with a moisturizer that carries SPF so I am not layering a separate sunscreen underneath everything else. The L’Oréal Paris RevitaLift Triple Power Day Lotion SPF 30 is what I reach for: it hydrates enough that makeup sits evenly, and the SPF 30 means I am not gambling with sun damage for the sake of a shorter routine. A smooth, hydrated base lets you use less product overall, which is the whole point of keeping the look light. If your skin still drinks up moisture fast, give it a full minute to absorb before you move on; rushing this step is how you end up with product sliding off by noon.

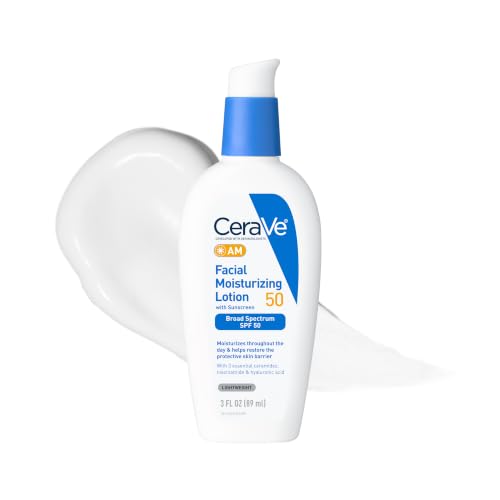
[ BROAD SPECTRUM SPF 50 ] A micro-fine zinc oxide sunscreen for UVA/UVB protection. This CeraVe face moisturizer with sunscreen is a hydrating facial lotion that spreads easily, is absorbed quickly, and leaves a non-greasy finish

Cetaphil Daily Facial Moisturizer SPF 35: Three-in-one facial moisturizer hydrates, nourishes and protects sensitive, combination skin
2. Apply Primer
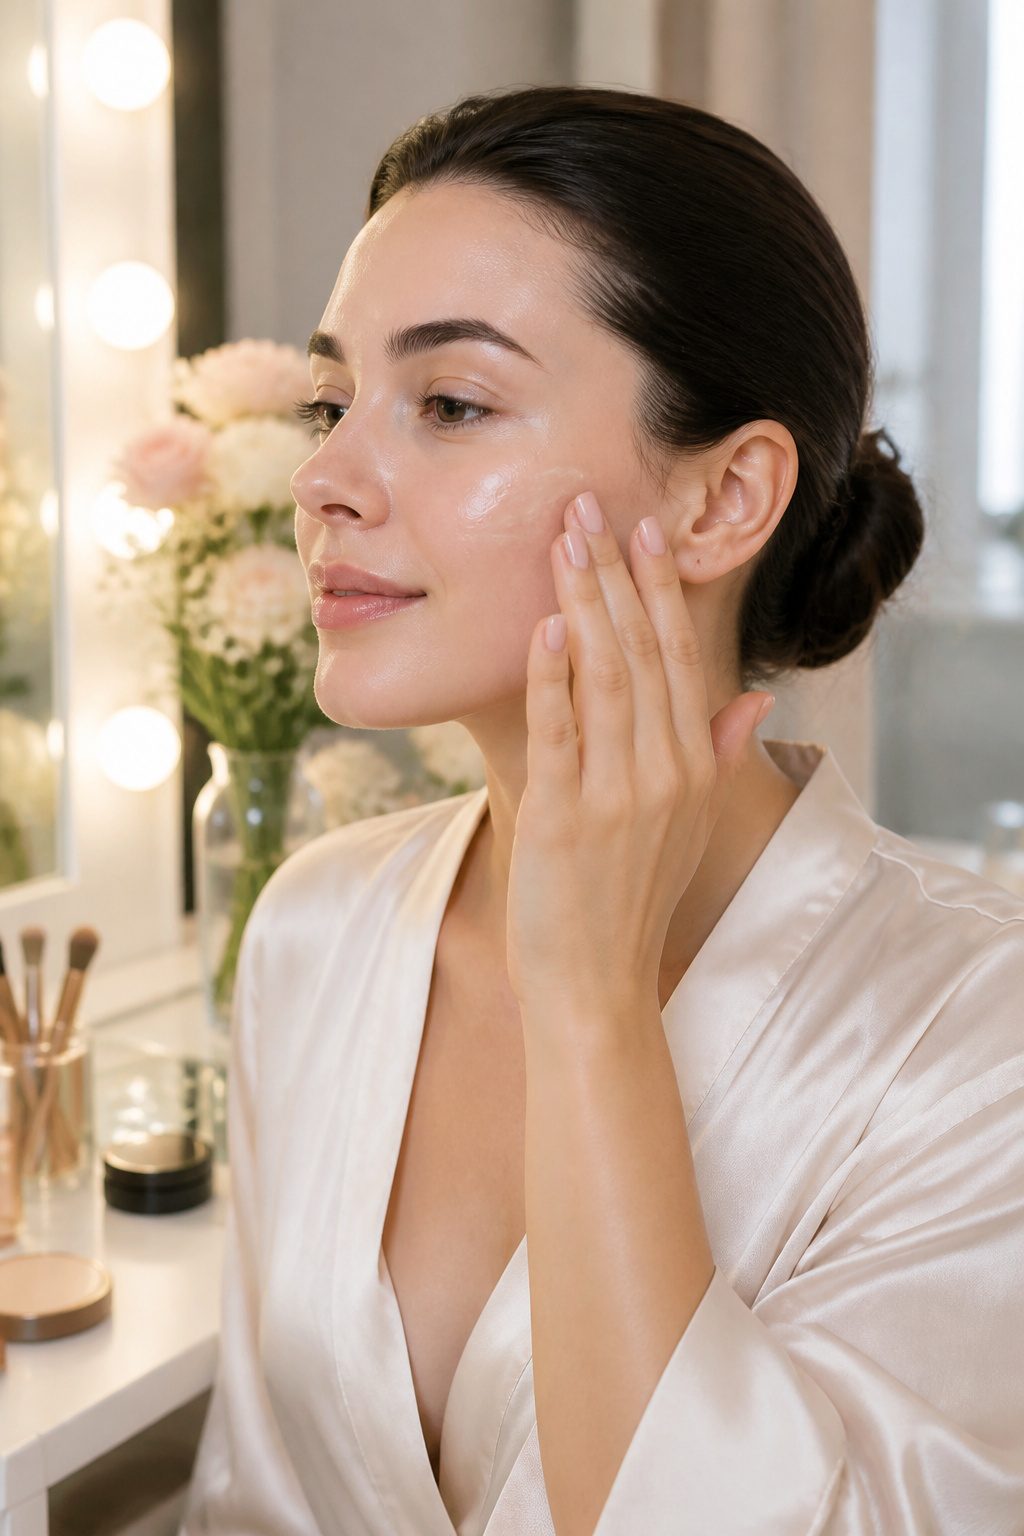
Primer is the step most people skip when they’re rushing, and the one they notice missing by noon. A hydrating formula does two jobs for a very light makeup look: it gives the skin enough moisture that foundation doesn’t grab onto dry patches, and it creates a surface thin enough that you’re not building layer on layer.
The sources I read while pulling this together kept coming back to the same point. Well-prepped skin lets you use less product, which is the whole goal here. A plump, hydrated base means your skin itself becomes the finish, not the makeup sitting on top of it.
I look for lightweight formulas that layer without heaviness. The cooling primers with ceramides and peptides do the smoothing work while adding hydration, and that combination matters more than any blurring effect when you’re keeping the rest of the face minimal. Milky, fast-absorbing textures layer best under sheer coverage. If your skin still needs a separate moisturizer after toning, a gel cream that absorbs quickly will sit beneath primer without shifting it.
The real test is at hour six. Primer won’t turn a light look into a long-wear one, but it will keep what you did apply from breaking up early.

Face Primer For Up To 24H Wear: Drip, glide, grip with Grippy Serum Primer. This face primer for makeup is ultra blendable with Serum-To-Grip technology, after 20 seconds the fresh serum texture transforms to a sticky feel that grips makeup for up to 24H

DEEP HYDRATION BOOST: Infused with skin-conditioning ingredients, this hydrating face primer helps moisturize, soft, smooth, and prep skin for seamless makeup application.

[Up to 120 Hours of Deep Hydration] Powered by 10 types of Hyaluronic Acid to deliver lasting hydration and visibly plump skin.
3. Choose Lightweight Foundation
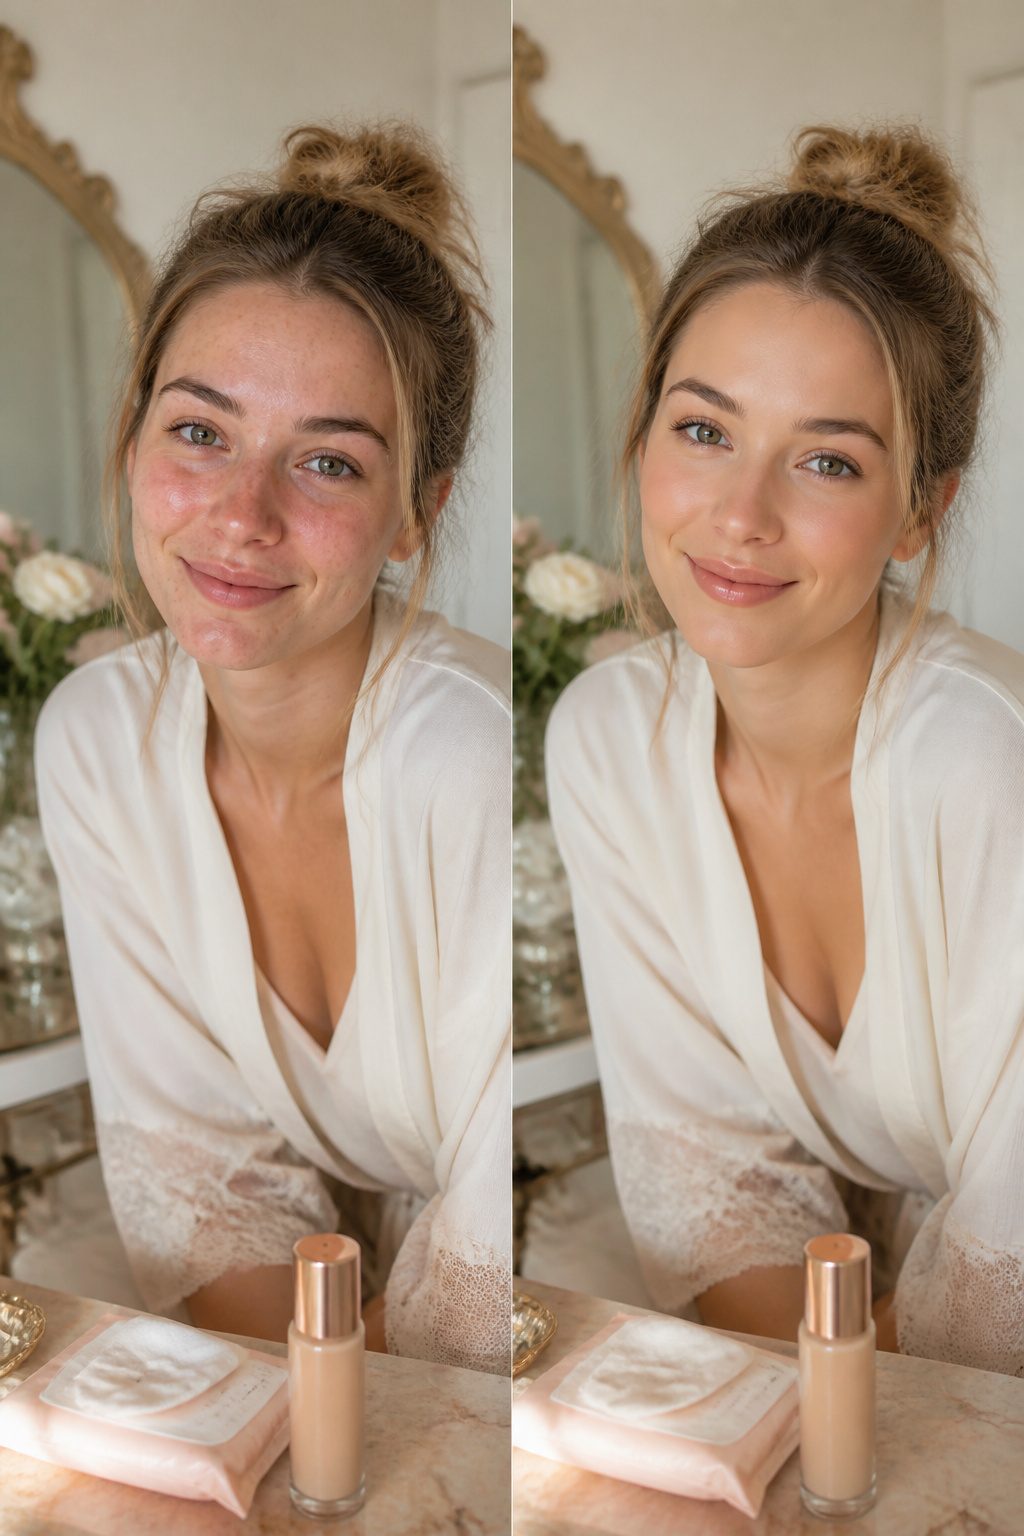
Tinted moisturizer or a light-coverage foundation is where very light makeup looks live or die. The L’Oréal Paris True Match Hyaluronic Tinted Serum gives hydration and a finish that actually looks like skin rather than product sitting on top of it. For something with slightly more body, the Beautyblender Bounce™ Radiant Skin Tint carries 12-hour hydration and a glow that reads as healthy rather than made-up.
Match the tone to your jaw, not your wrist, and test it in daylight if you can. The neck works too, but the jawline is where the blend actually has to happen. I have watched people stripe foundation across their hand, buy the wrong shade, and then layer on more to compensate. That is how a light look turns heavy in under a minute.
Start with less than you think. A pea-sized amount, warmed between fingers or tapped on with a damp sponge, covers more ground than most expect. You can always add a dot more on a stubborn spot, but removing excess without starting over is nearly impossible. The whole point of this step is evening things out, not erasing them. A freckle or a faint mark showing through is usually what makes the finish believable.

Tinted Serum with 1% Hyaluronic Acid: Skincare meets makeup. True Match Nude Hyaluronic Tinted Serum instantly brightens and evens skin while it hydrates, for a nude, radiant finish. Skin feels plump and hydrated in a 3-week consumer test.

lightweight skincare-infused serum with a natural finish & 16-hr wear
lightweight skincare-infused serum with a natural finish & 16-hr wear
4. Conceal Sparingly
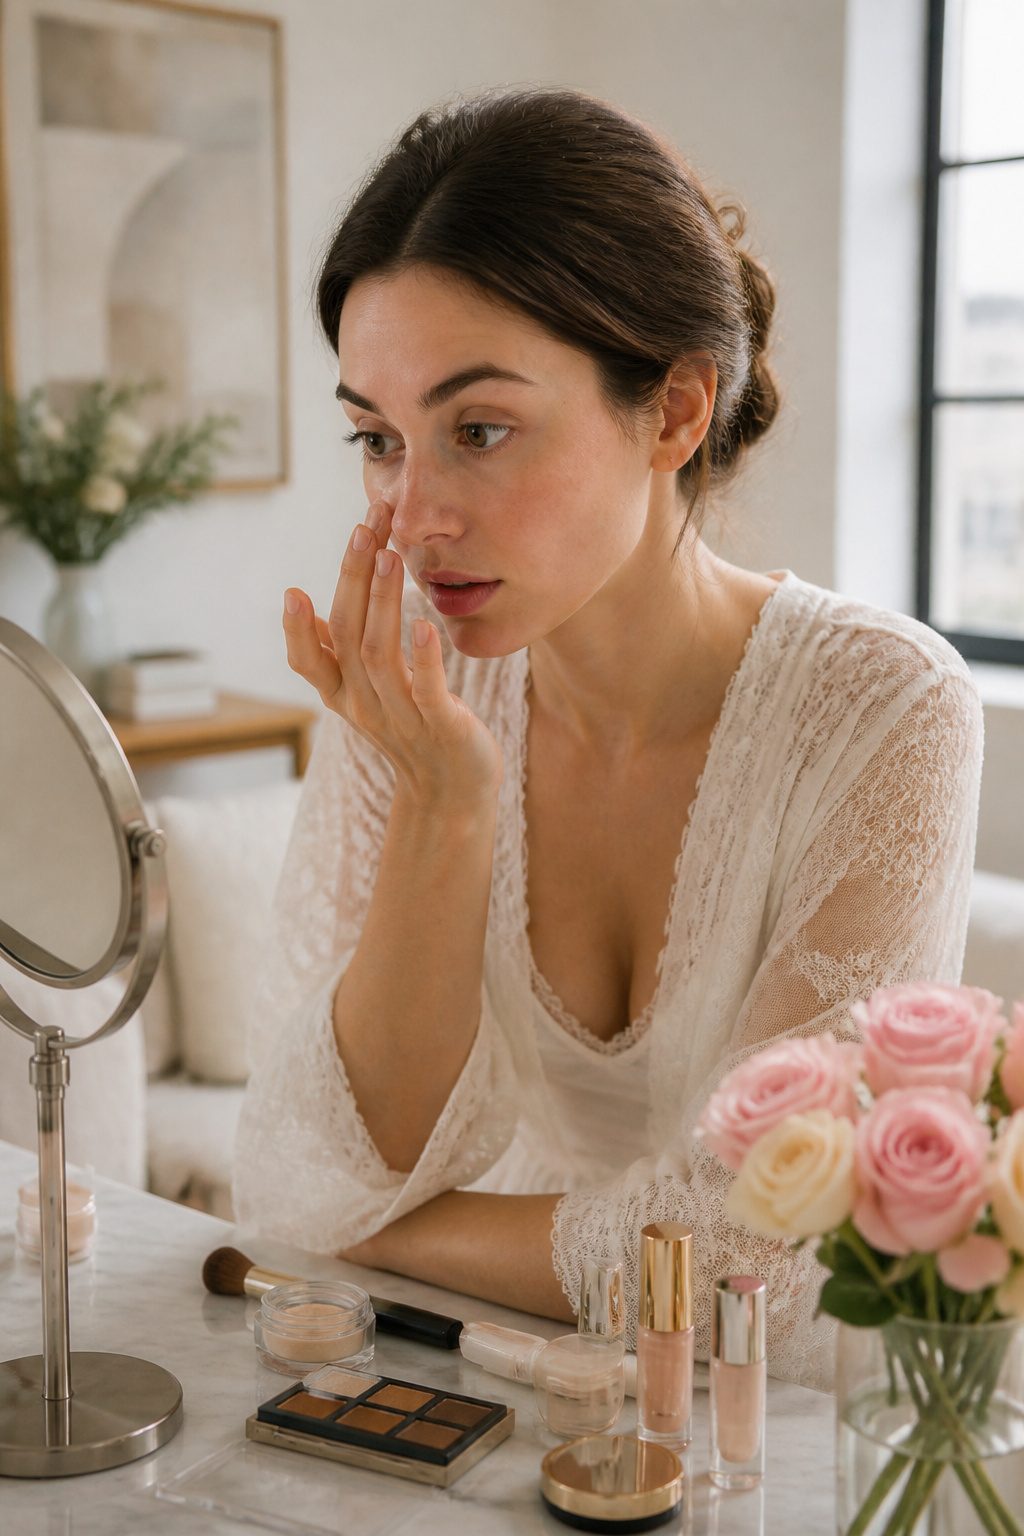
The fastest way to add weight to a light makeup look is painting concealer everywhere it does not belong. Spot coverage keeps the finish believable: a thin veil on the inner and outer corners of the undereye, a pinpoint touch on a blemish, nothing more. For that brightening step, Maybelline Instant Age Rewind Perfector works as a concealer to even tone without building up texture. The product also doubles as a primer or highlighter, though on a minimal day I use it only where darkness actually sits. Blend with clean fingers rather than a brush or sponge, letting the warmth of your skin melt the formula in so it disappears instead of sitting on top. A precise brush helps place color-correcting concealer on specific spots first, but the final step is always fingertips pressing until the edge is gone. The less you move the product around, the less you need, and the less you need, the fresher the face reads.

INSTANT HYDRATION & REFRESH: Rejuvenating rose water spray for face instantly soothes and hydrates dull, tired skin with a fine mist that revives and refreshes anytime, anywhere.

Deep Hydration for Normal to Dry Skin: Formulated with a lightweight cream texture, our facial moisturizer uses aloe and avocado oil to deeply hydrate your complexion, leaving you with a radiant, plumped, and healthy glow.

SOOTHING FACE AND BODY SPRAY: Advanced hypochlorous acid spray formulated with pure HOCL, electrolyzed water, and soothing mineral concentrate, purifies and calms compromised skin while supporting skin barrier function. Perfect for reactive skin that needs lasting comfort
5. Add Blush
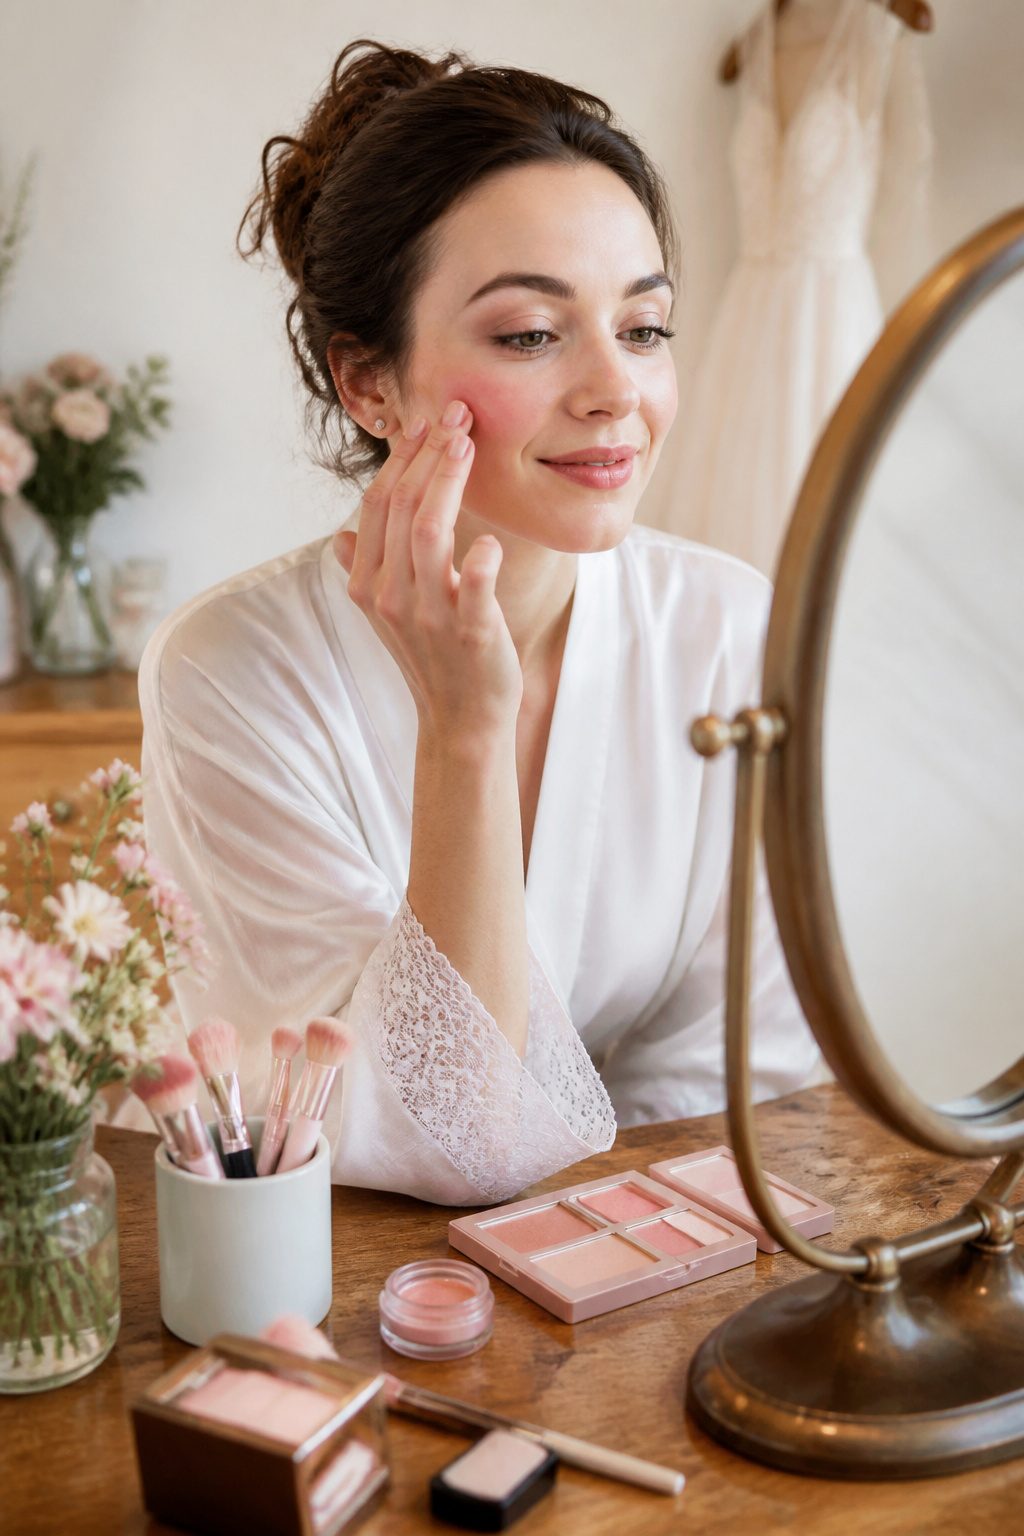
Cream or liquid blush is the right texture for very light makeup looks because it melts into skin instead of sitting on top of it. I learned that the hard way after watching powder blush collect on dry patches one too many mornings. The formula matters less than the placement, though. Dot it onto the apples of your cheeks, the roundest part that pops up when you smile, then blend outward with a fingertip or a damp sponge. The blending is non-negotiable. Unblended edges read as color sitting on your face rather than color coming from it, and that distinction is what separates natural from obvious. One dot per cheek is enough to start; you can always tap on more, but sheer formulas layer more gracefully than they subtract. Some makeup artists sweep a whisper of the same shade across the bridge of the nose to mimic a real flush, which I resisted at first because it felt like stage makeup. It actually photographs like you just walked in from cold air, not like you tried. The lifted effect comes from keeping the color low and diffused, not blended up toward the temples where it starts to look like contour.
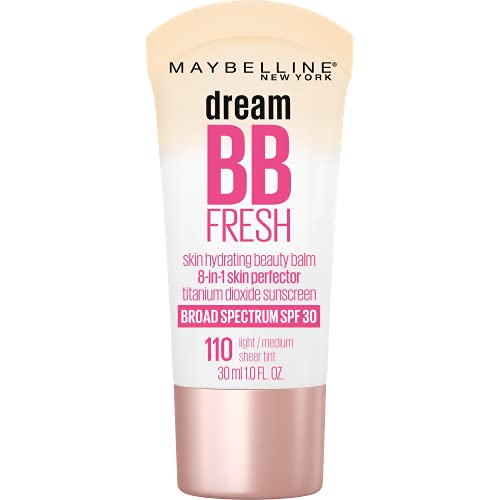
Dream BB fresh 8-in-1 skin perfecting beauty Balm hydrates, protects with SPF 30, brightens, blurs imperfections, smoothens, enhances, is oil-free and available in 5 skin-tone perfecting shades
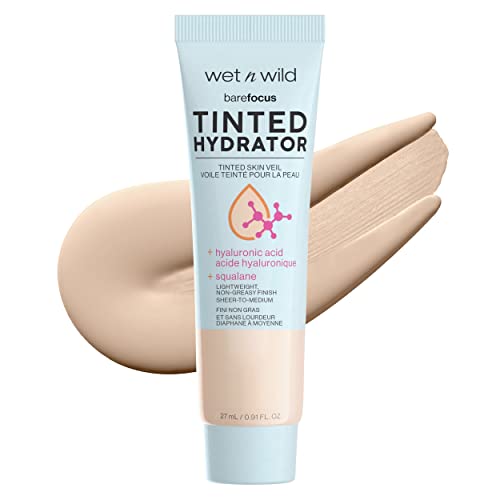
Buildable Coverage: Watch as lines and imperfections fade away. This lightweight hydrator features buildable seamless coverage from sheer to medium.

Super Stay Skin Tint: Introducing our 1st longwear skin tint with Vitamin C. Delivers bright, skin-like light-to-medium foundation makeup coverage. Weightless feeling face makeup, up to 24HR foundation makeup wear. Resists sweat, humidity and fading
6. Highlight
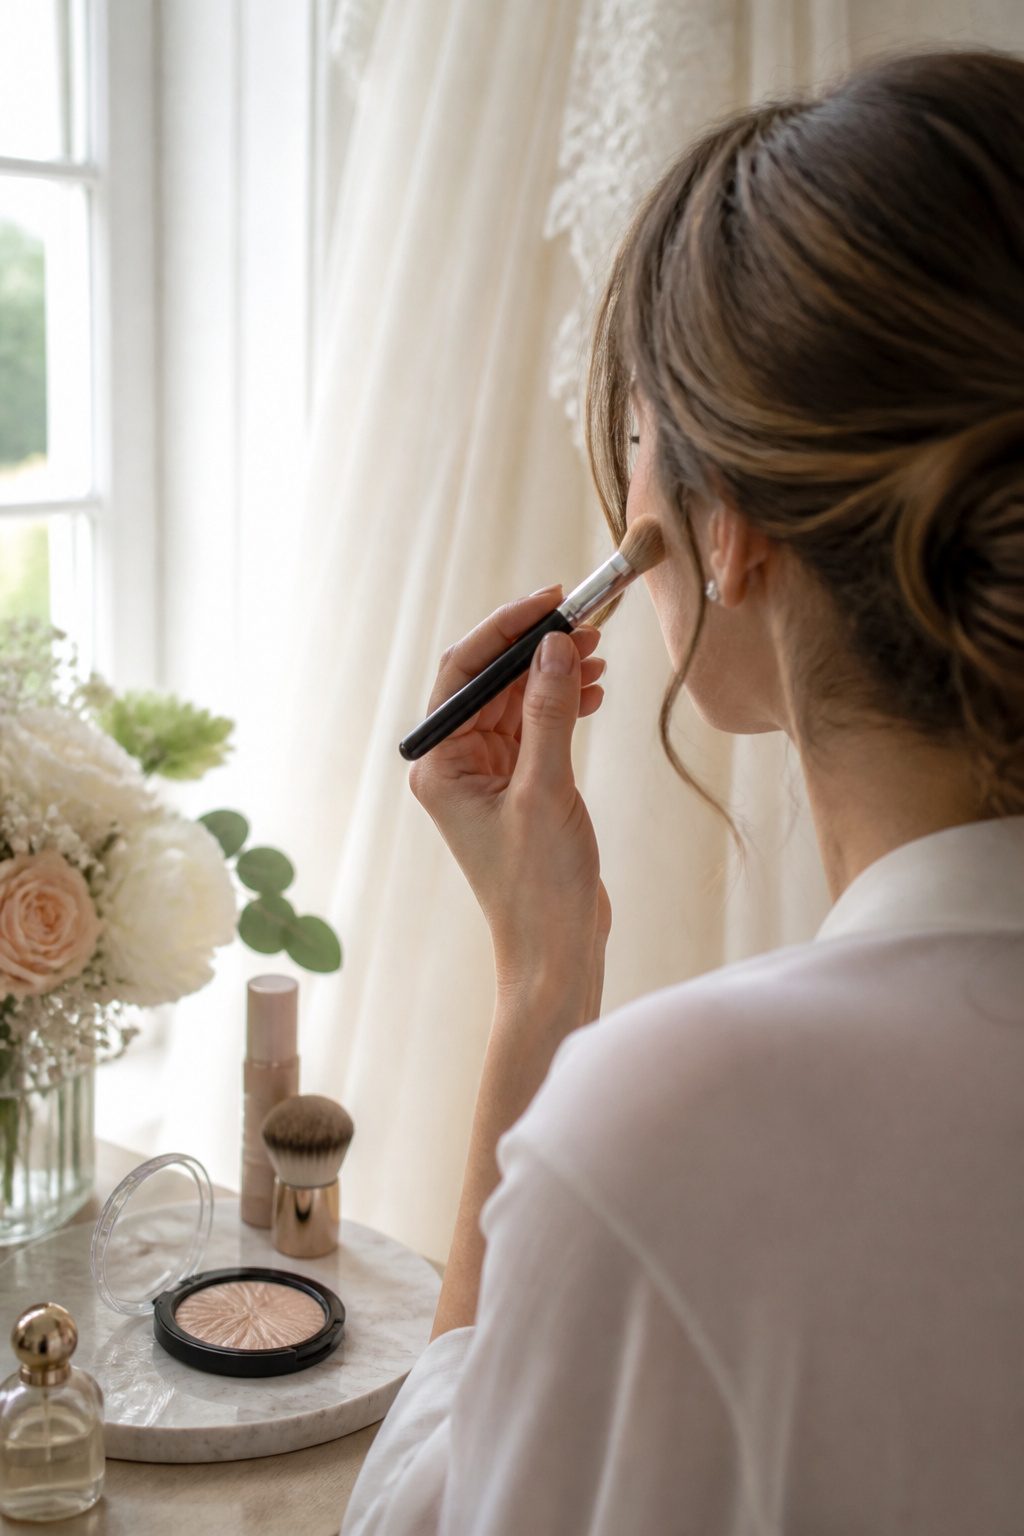
Highlighter sits at the point where a very light makeup looks either stays believable or crosses into stage makeup. The skin already carries some natural luminosity from the base layers, so the job is selective amplification, not invention.
A fan brush picks up the least product and spreads it thinnest. I sweep Maybelline’s Master Chrome Highlight Powder across the cheekbones first, then the bridge of the nose and the Cupid’s bow. These three points catch genuine light on a face in motion. The forehead and chin can take a whisper too if the overall effect still reads as skin rather than shimmer. The powder builds, so starting with less leaves room to add rather than subtract. Molten Gold is the shade that keeps coming up for this; it reads warm without going metallic on lighter skin tones.
For mornings when even that feels like too many steps, the Instant Age Rewind Perfector bundles primer, concealer, highlighter, and BB cream into one layer. It sacrifices the precision of placing highlight exactly where you want it, but gains back the time and the risk of overdoing it.

Toleriane Double Repair Face Moisturizer UV is formulated with a high concentration of La Roche-Posay prebiotic thermal water, ceramide-3, niacinamide, and glycerin, providing up to 48hr hydration and restoring skin's natural protective barrier

SPF 30 DAILY PROTECTION: Broad spectrum sunscreen shields against UVA/UVB rays while hydrating skin with a lightweight face moisturizer designed for everyday wear under makeup without heavy residue or white cast.

[ BROAD SPECTRUM SPF 30 ] A micro-fine zinc oxide sunscreen for UVA/UVB protection. This CeraVe moisturizer with SPF is a hydrating facial lotion that spreads easily, is absorbed quickly, and leaves a non-greasy finish
7. Eyeshadow
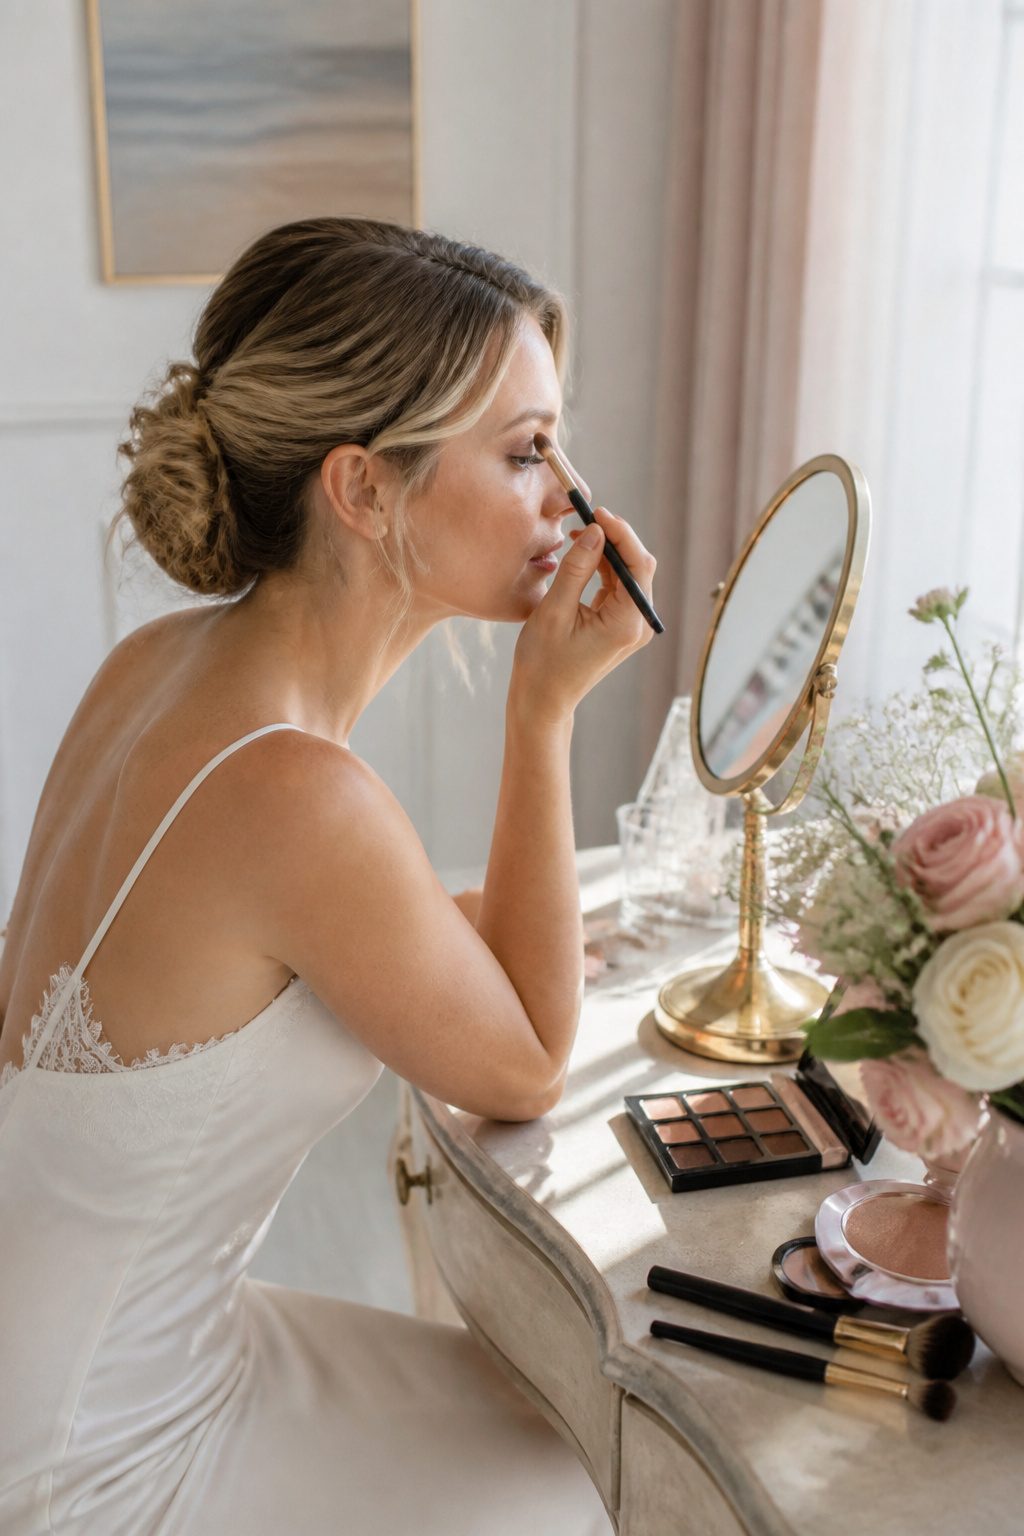
Eyeshadow on a light-makeup day is optional, and the choice comes down to how much definition you actually want. A wash of taupe, soft brown, or warm beige across the lid adds depth without registering as color. Brown liner and a single coat of mascara finish the eye so it looks naturally full, not decorated.
Skip it entirely if the rest of your face already carries enough structure. Neutral shades or none at all keep the look genuinely minimal, and that is often the point of searching for very light makeup looks. When I do use shadow for this, I blend until the edge disappears; any visible line reads as effort, and effort is what we are trying to erase.

Instant Pore Minimizing & Blurring Primer for a Flawless Base- Tired of makeup that slides, creases, or clings to dry patches? Waterblur is a hydrating primer that preps skin with a soft, diffused finish, instantly smoothing texture, blurring the look of pores, and gripping your foundation so it stays put all day. Whether you're dealing with redness, uneven tone, or stubborn pores, this is the primer for face before makeup that solves it in one step.

HYDRATE AND REVITALIZE: Experience beneficial hydration with our ceramide and peptide formula that supports the skin's moisture barrier for soft, plump, and dewy skin. The sensorial, lightweight liquid emulsion glides on the skin while replenishing natural moisture.

DESIGNED FOR MATURE, DRY & SENSITIVE SKIN: Created for dry, normal, mature, or sensitive skin, this hydrating primer smooths the look of fine lines and dry patches while prepping your face for even, long-lasting makeup. Also suitable for combination skin when applied to dry-prone areas.
8. Eyeliner
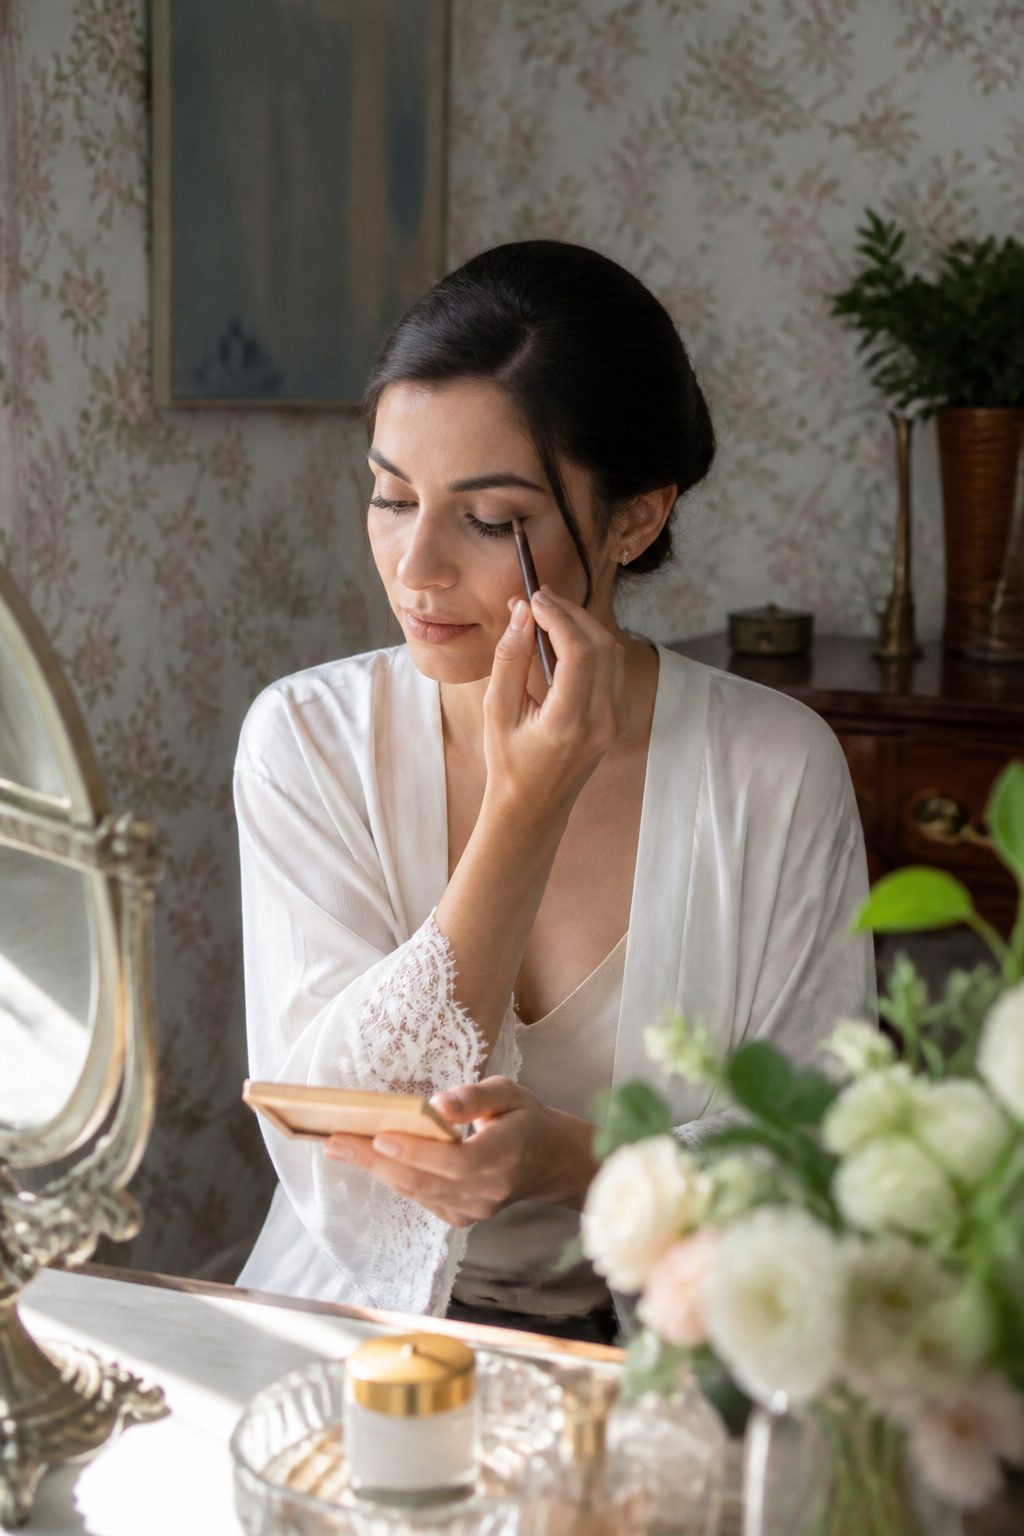
Eyeliner is the easiest place to overdo a very light makeup look, so I treat it as optional and skip it more often than not. When I do want definition, a soft pencil formula wins over liquid every time; the softer finish reads as natural rather than graphic, and it blends into lashes instead of sitting on top of them.
Tightlining the upper lash line with a dark brown or gray pencil gives the invisible eyeliner effect: eyes look slightly bigger and brighter, but no one can name why. Smudge it lightly with a small brush if the edge reads too sharp. Keep the line thin and stay on the upper lid only; lower-liner territory builds weight fast. If the pencil drags, warm the tip on the back of your hand first. That small step keeps the deposit sheer and the look intact.

WHAT IT IS: Your best skin, bottled. This award-winning, all-in-one skin tint combines dewy makeup, powerful skincare, and mineral SPF 40. Fragrance-free and non-comedogenic, it boosts hydration and improves the appearance of pores, blemishes, redness, and wrinkles

WHAT IT IS: Your best skin, bottled. This award-winning, all-in-one skin tint combines dewy makeup, powerful skincare, and mineral SPF 40. Fragrance-free and non-comedogenic, it boosts hydration and improves the appearance of pores, blemishes, redness, and wrinkles

1-oz of Neutrogena Healthy Skin Sensitive Skin Serum Foundation with Pro-Vitamin B5 in shade Medium 01, to help keep skin healthy looking, blur imperfections and designed to minimize the look of fine lines and cover pores
9. Mascara
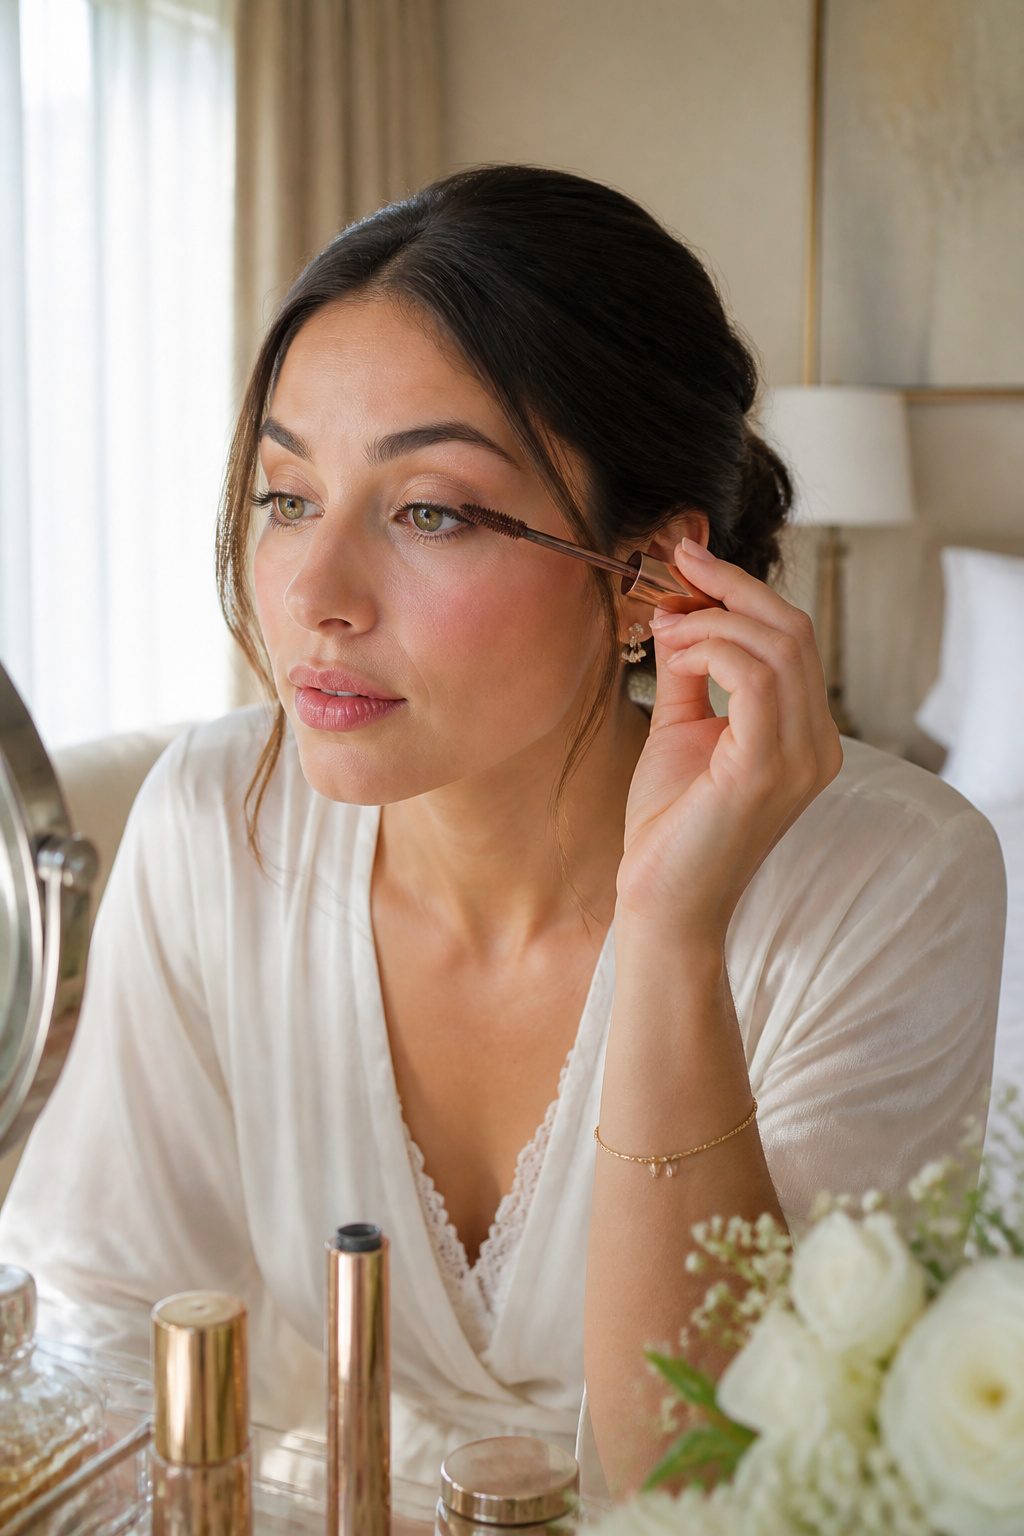
A single coat of mascara wakes up the eyes without tipping into drama, which is exactly what very light makeup looks need. The trick is choosing a formula that defines rather than builds. Brown shades read softer against skin than black for daytime, and washable formulas lift off at night with just warm water so you’re not scrubbing the rest of your look away.
Some mornings, the lightest possible choice is a clear formula over curled lashes. It makes impact while still looking natural, and there’s no pigment to smudge or flake. If you prefer traditional mascara, a clean formula that separates and lifts, like Ilia’s Limitless Lash, adds length without the clumpy false-lash effect. Merit makes a tubing mascara that stays flake-free all day with soft definition, and Maybelline’s classic clear mascara still holds up for subtle definition in a lightweight, washable formula. One coat is usually enough; two starts the climb toward heaviness.

For A Glassy, Glowy Complexion - This Korean face moisturizer for oily skin features 90% watermelon extract to hydrate, plump & soothe. The bouncy gel moisturizer for face absorbs instantly, leaving a fresh, glassy glow without greasiness!

For A Glassy, Glowy Complexion - This Korean face moisturizer for oily skin features 90% watermelon extract to hydrate, plump & soothe. The bouncy gel moisturizer for face absorbs instantly, leaving a fresh, glassy glow without greasiness!

Hydrating Toner for Face: Refresh and hydrate your skin with this lightweight face mist. It's perfect for all skin types and helps prep skin for optimal moisture absorption.
10. Lips
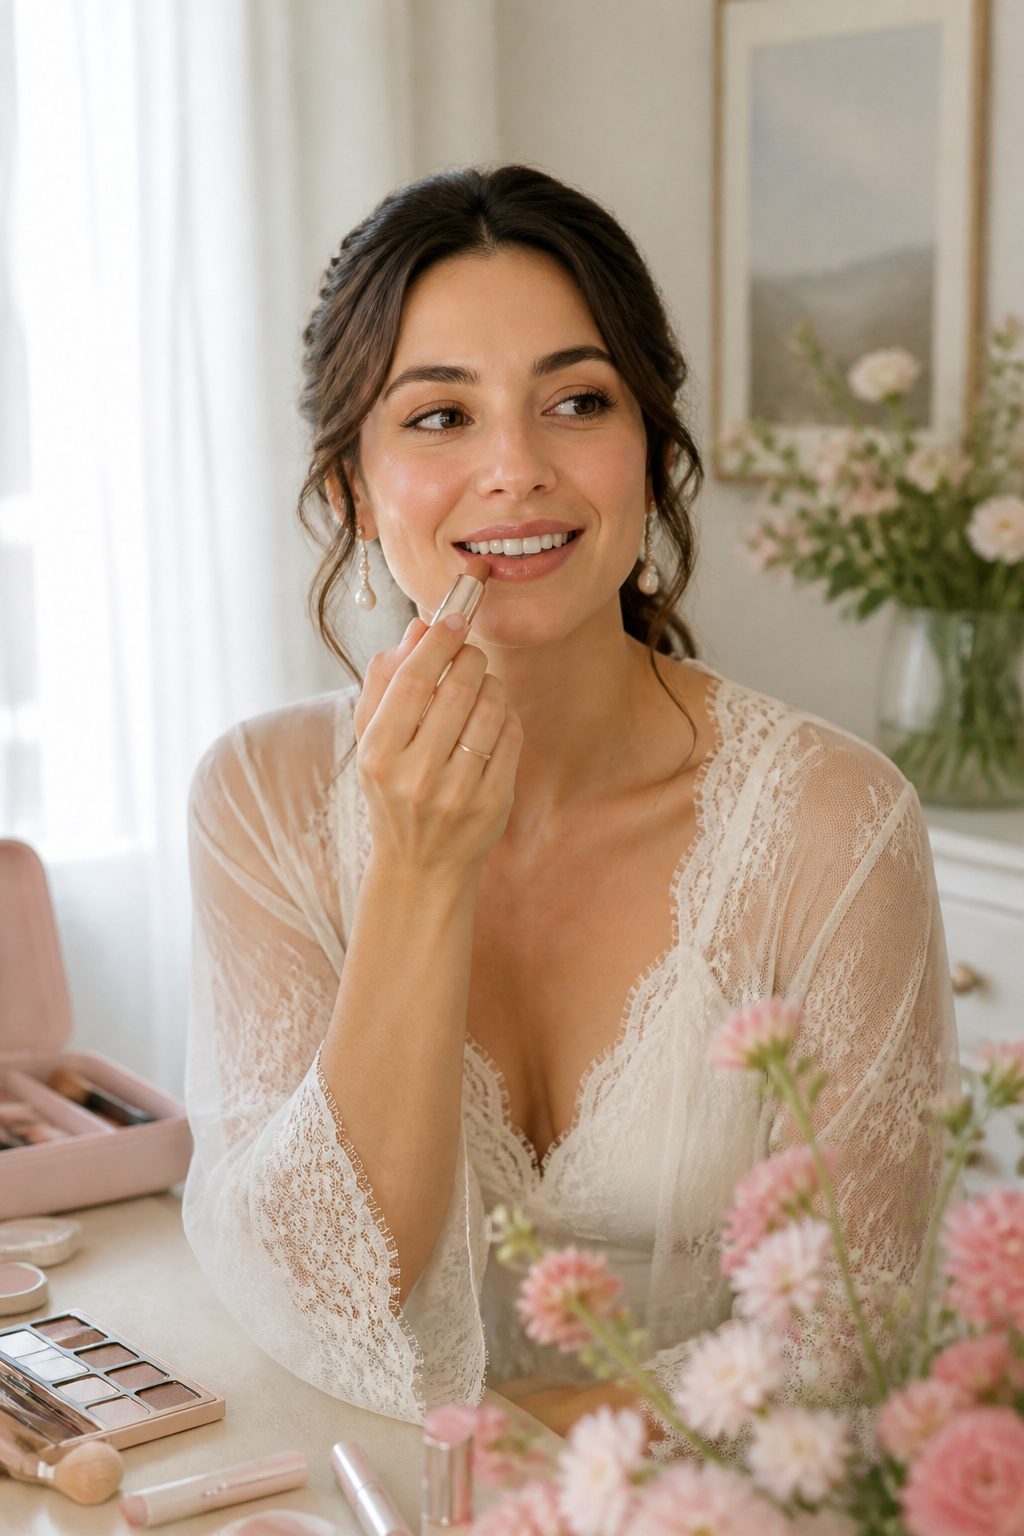
The last thing you want on a barely-there face is a lip that announces itself before you do. Tinted balms and sheer lip colors give you that healthy, just-ate-a-pomegranate flush without the opaque weight of traditional lipstick. I learned this the hard way after years of thinking "natural" meant nude lipstick, then wondering why my mouth looked like a separate event from the rest of my face.
A tinted balm, something like L’Oréal Paris Glow Paradise Balm-In-Lipstick with Pomegranate Extract, hydrates while it colors. The shade range runs to ten buildable tones, so you can press on a whisper or layer to a soft stain. The finish stays luminous, not glassy, which keeps the whole look in the same quiet register as your skin and eyes.
If you want a touch more definition, a no-liner lip liner changes the game. Rhode’s Peptide Lip Shape, the retractable pencil in Squeeze, contours without that drawn-on border. The creamy texture blends out so the edge almost disappears. Merit makes a semi-sheer liner that functions the same way, forgiving enough to outline, overline, or fill completely without turning precise.
For a final wash of color, a pH-adapting balm reacts to your own chemistry. Prada’s version, the one used on Zendaya for that barely-there flush, gives you a tint that belongs to your face specifically, not to a tube. The result reads as your lips, but healthier, which is the whole point of a very light makeup look.

Anti-Redness BB Cream ultra-light lotion delivers 4 beautifying actions in 1: neutralizes the look of redness, corrects skin color for an even complexion, hydrates for all day moisture and hides imperfections

Non-comedogenic and oil-free; a foundation that won’t clog pores; formulated with hyaluronic acid for a boost of hydration that leaves skin looking more even

LIGHTWEIGHT TINT: Hydrating liquid foundation blends effortlessly into skin with light coverage and a naturally dewy, perfected finish
11. Set Makeup
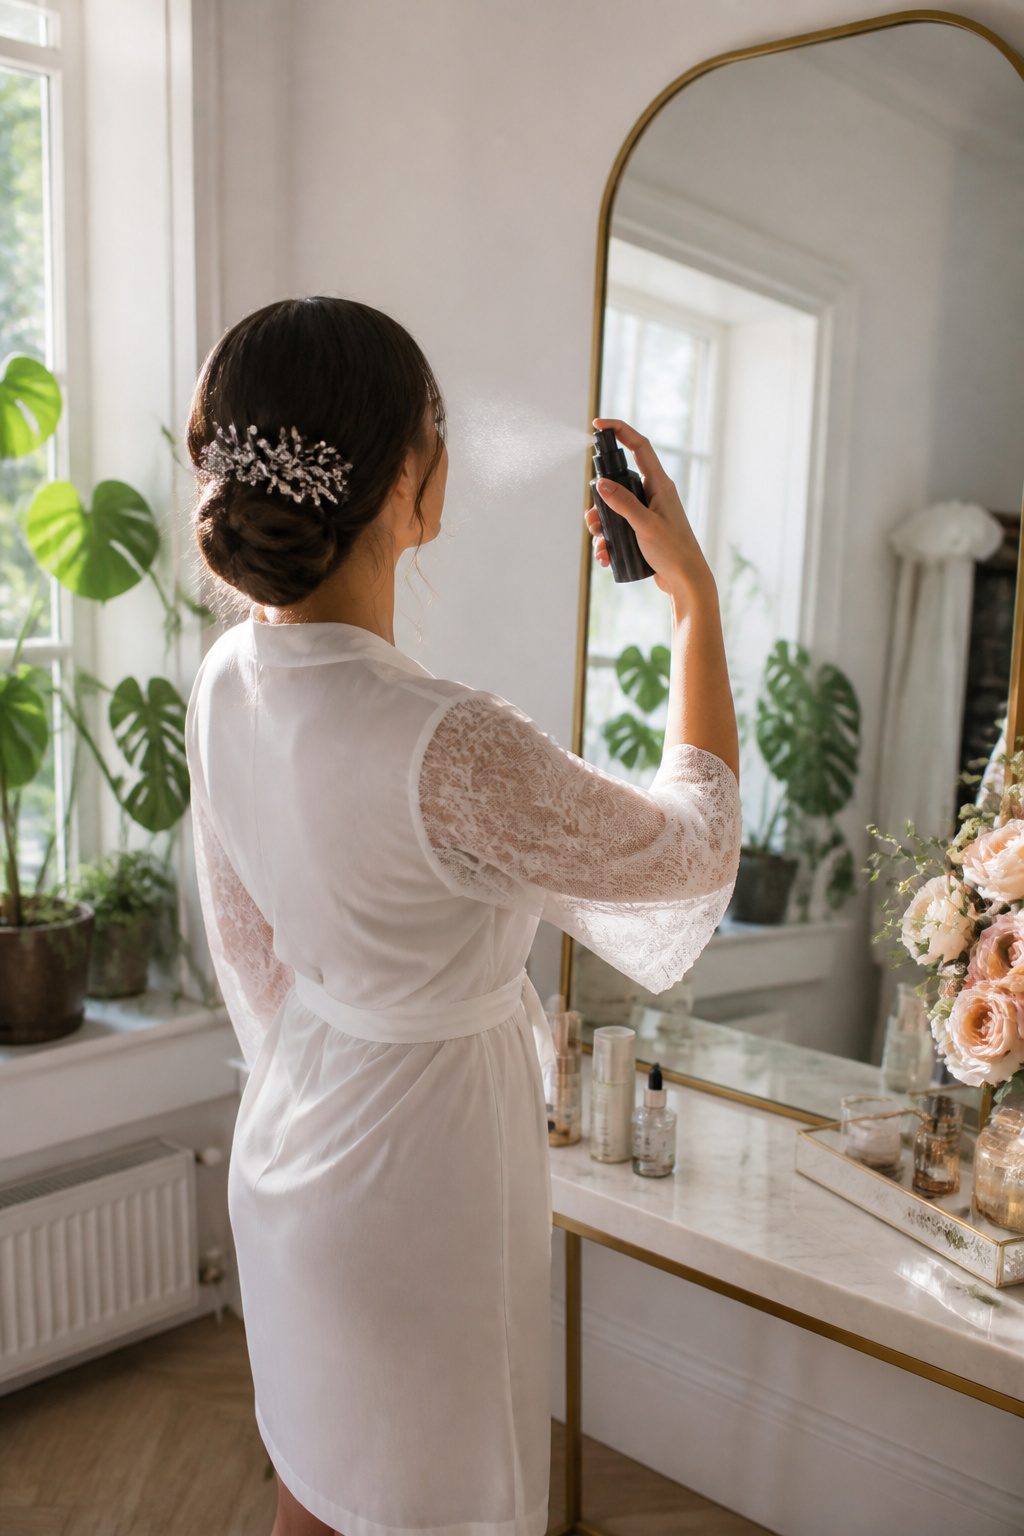
A setting spray keeps very light makeup looks from disappearing by noon without adding any visible layer on top. The L’Oréal Paris Infallible 3-Second Setting Mist disperses in a microfine mist that dries instantly, so you get no stray droplets or wet patches that disturb what you already applied. Three to four seconds of spray is the window they give, and that single pass is meant to extend wear up to 36 hours, though most days you will not test that limit.
Powder is the other option, but it demands restraint. A matte face reads heavy fast, and on skin that already looks fresh, even translucent powder can flatten the glow you just built. If oiliness is a real problem, a sparing dusting only where you shine, nothing more. The dewier route, which most very light makeup looks favor, stays with a hydrating spray instead. The mist wins for maintaining that natural, glowy finish the whole point depends on.
Light Makeup Looks to Try
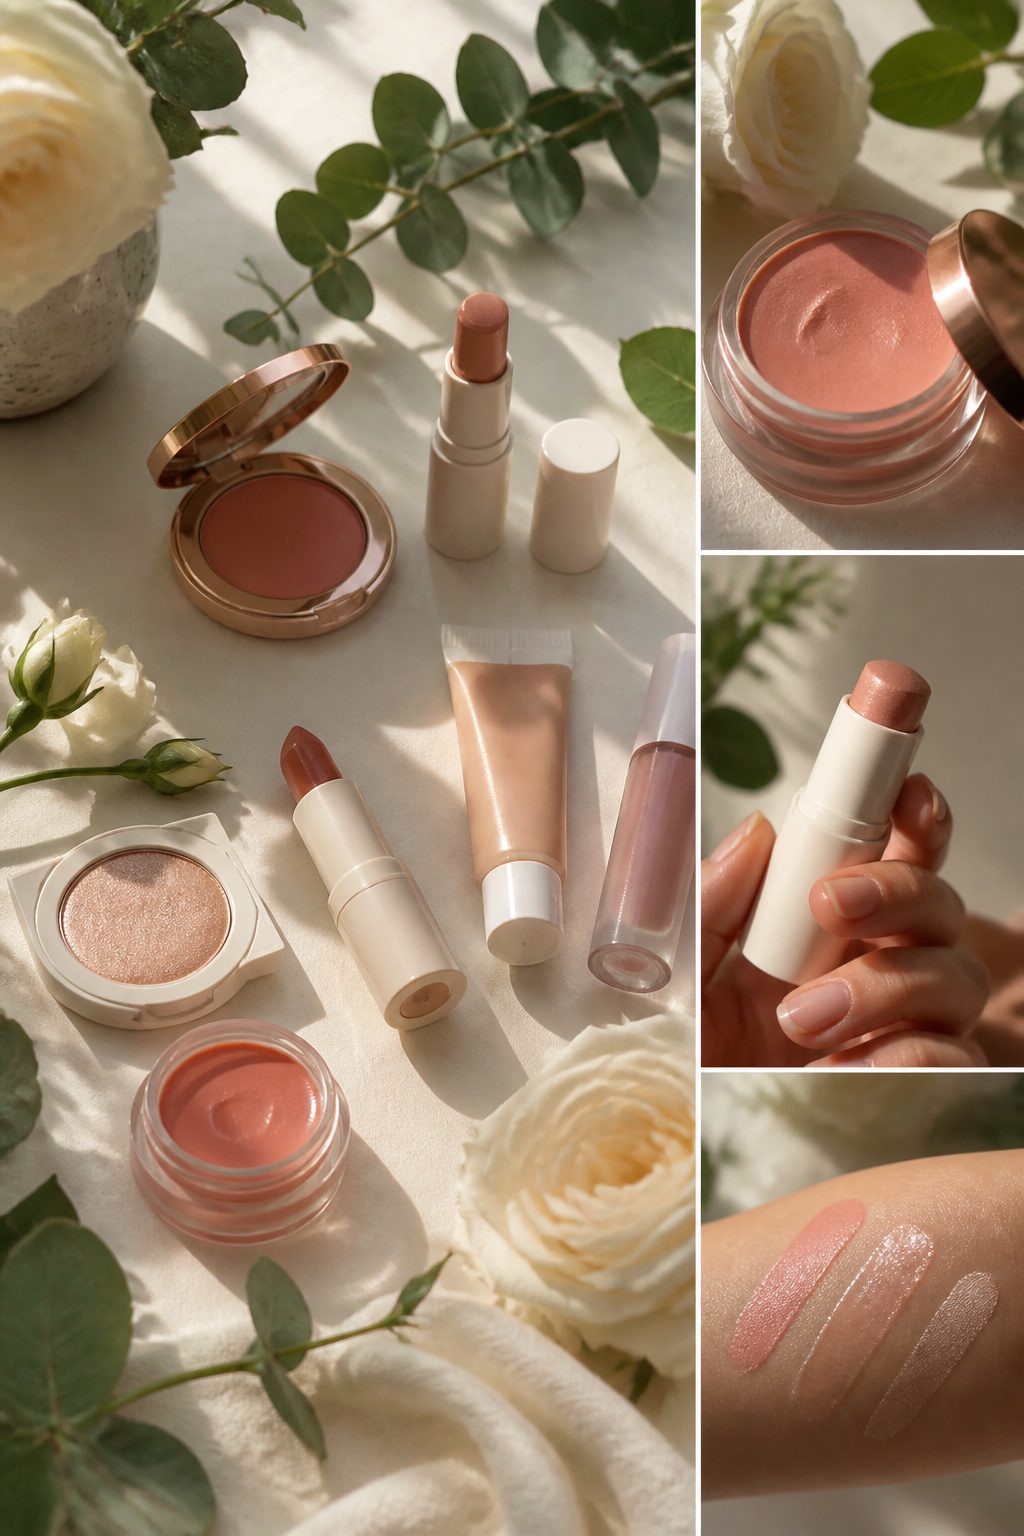
A bride working with a tight timeline and budget needs a look she can describe to a makeup artist, or practice herself, without second-guessing. These are the seven directions that come up most often for wedding mornings.
- Fresh-faced keeps skin at center stage: light-coverage foundation, a wash of neutral eyeshadow, defined eyes with liner and mascara, and a nude lip. It reads polished in photos without looking like you tried.
- Soft rosy hues swap the strict nude palette for peaches, apricots, and baby pinks on cheeks and lips. The effect is awake and romantic, especially flattering if your natural coloring runs cool.
- No-makeup makeup is the most technical of the group. Skin prep matters more here than anywhere else: clean skin, fast-absorbing moisturizer, then the thinnest possible layer of tint or serum. The goal is letting your actual texture show through.
- Sun-kissed places warmth where the sun would hit naturally. Think satin finish rather than 2024’s high-shine dew; the current version reads softer and more believable in outdoor ceremony light.
"For the premiere, we wanted the skin to look fresh, luminous, and naturally sun-kissed. The makeup was intentionally minimal, with glowing skin at the heart of the look and soft warmth placed where the sun would naturally hit."
— Vogue
That satin, soft-focus evolution means you can ask for "sun-kissed" without fearing glitter or grease.
- Effortless brows means working with what you have, filling only where sparse, and keeping the arch natural. Heavy brow product ages a light face faster than anything else.
- Dewy skin pushes glow further, hitting the high points: cheekbones, bridge of nose, Cupid’s bow. A fan brush and a metallic highlighter do the work in seconds.
- Timeless nude is the fallback that never fails. Neutral eyes, defined lash line, nude lip. It will not trend on TikTok, which is exactly why it still works for vows and parent dances and last-call photos alike.
Product Types and Textures
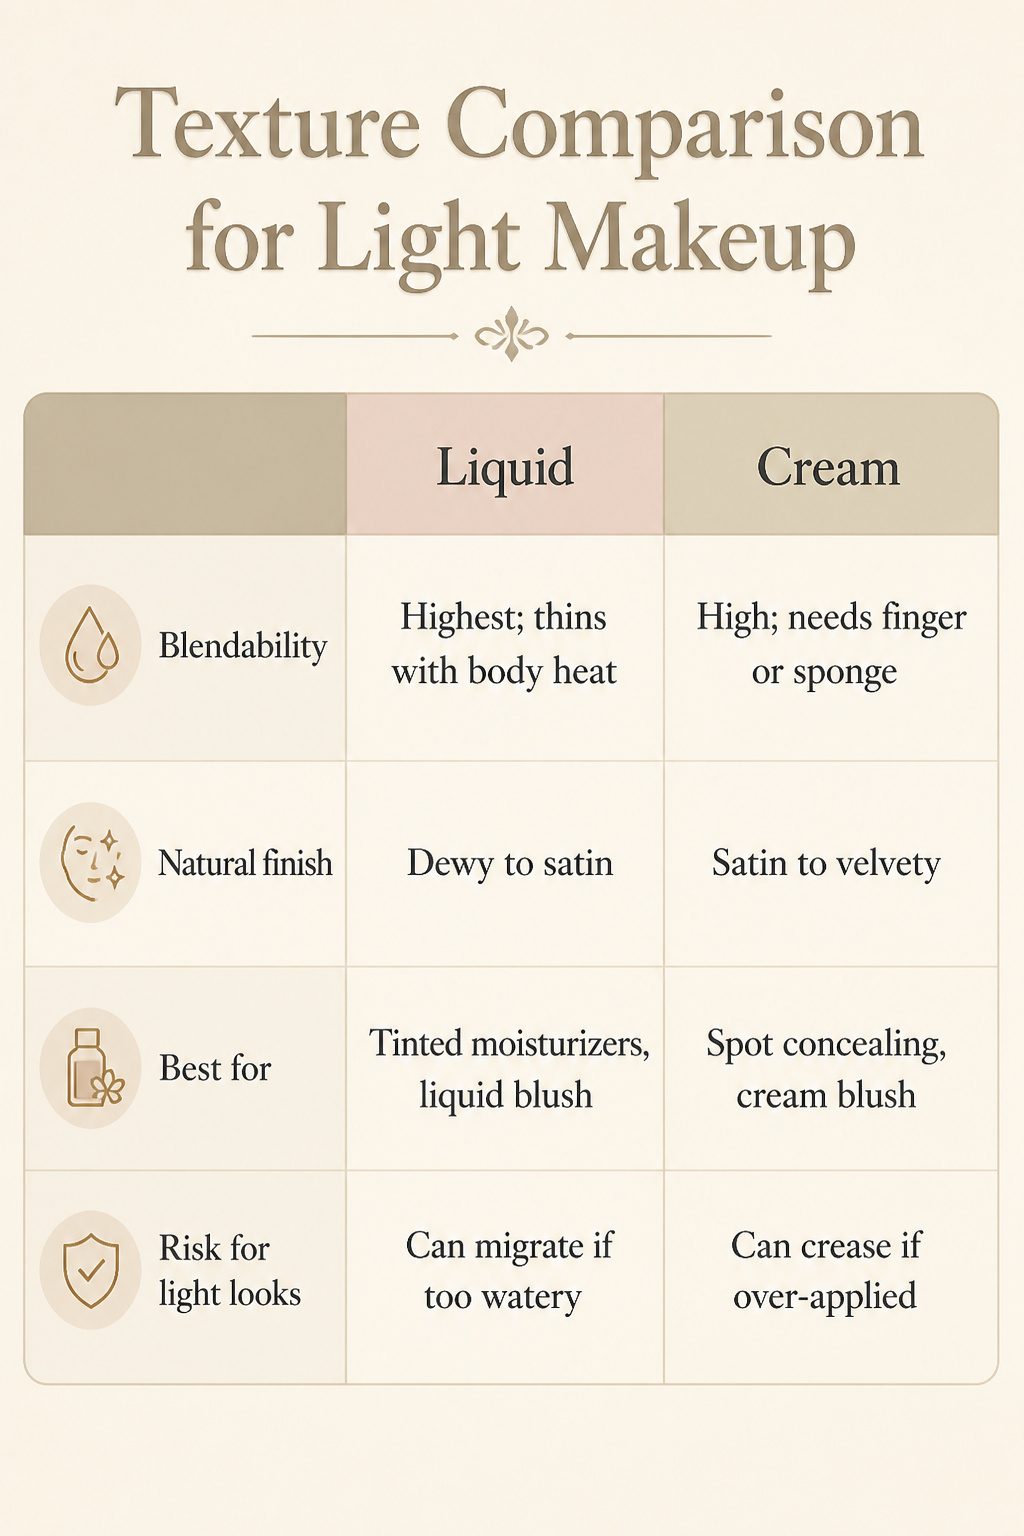
The texture of a product matters more than its color when you’re aiming for skin that looks like skin. Cream and liquid formulations melt into the face in a way powder rarely does, because they share the same base as your skin’s own moisture rather than sitting on top of it. Powders can catch on fine lines or cling to dry patches, which defeats the purpose of a barely-there look.
| Attribute | Liquid | Cream | Powder |
|---|---|---|---|
| Blendability | Highest; thins with body heat | High; needs finger or sponge | Lower; sits on surface |
| Natural finish | Dewy to satin | Satin to velvety | Matte, can look flat |
| Best for | Tinted moisturizers, liquid blush | Spot concealing, cream blush | Setting, not building |
| Risk for light looks | Can migrate if too watery | Can crease if over-applied | Adds visible texture |
I reach for liquids first on no-makeup days. A liquid blush, for instance, lets me place one dot on each cheek and sheer it out to nothing, building only where I want it. Creams demand a bit more pressure and attention, but they still become part of the skin rather than a layer on it. Powders have their place, but for a fresh face, they’re the exception, not the rule.
Mistakes That Add Weight
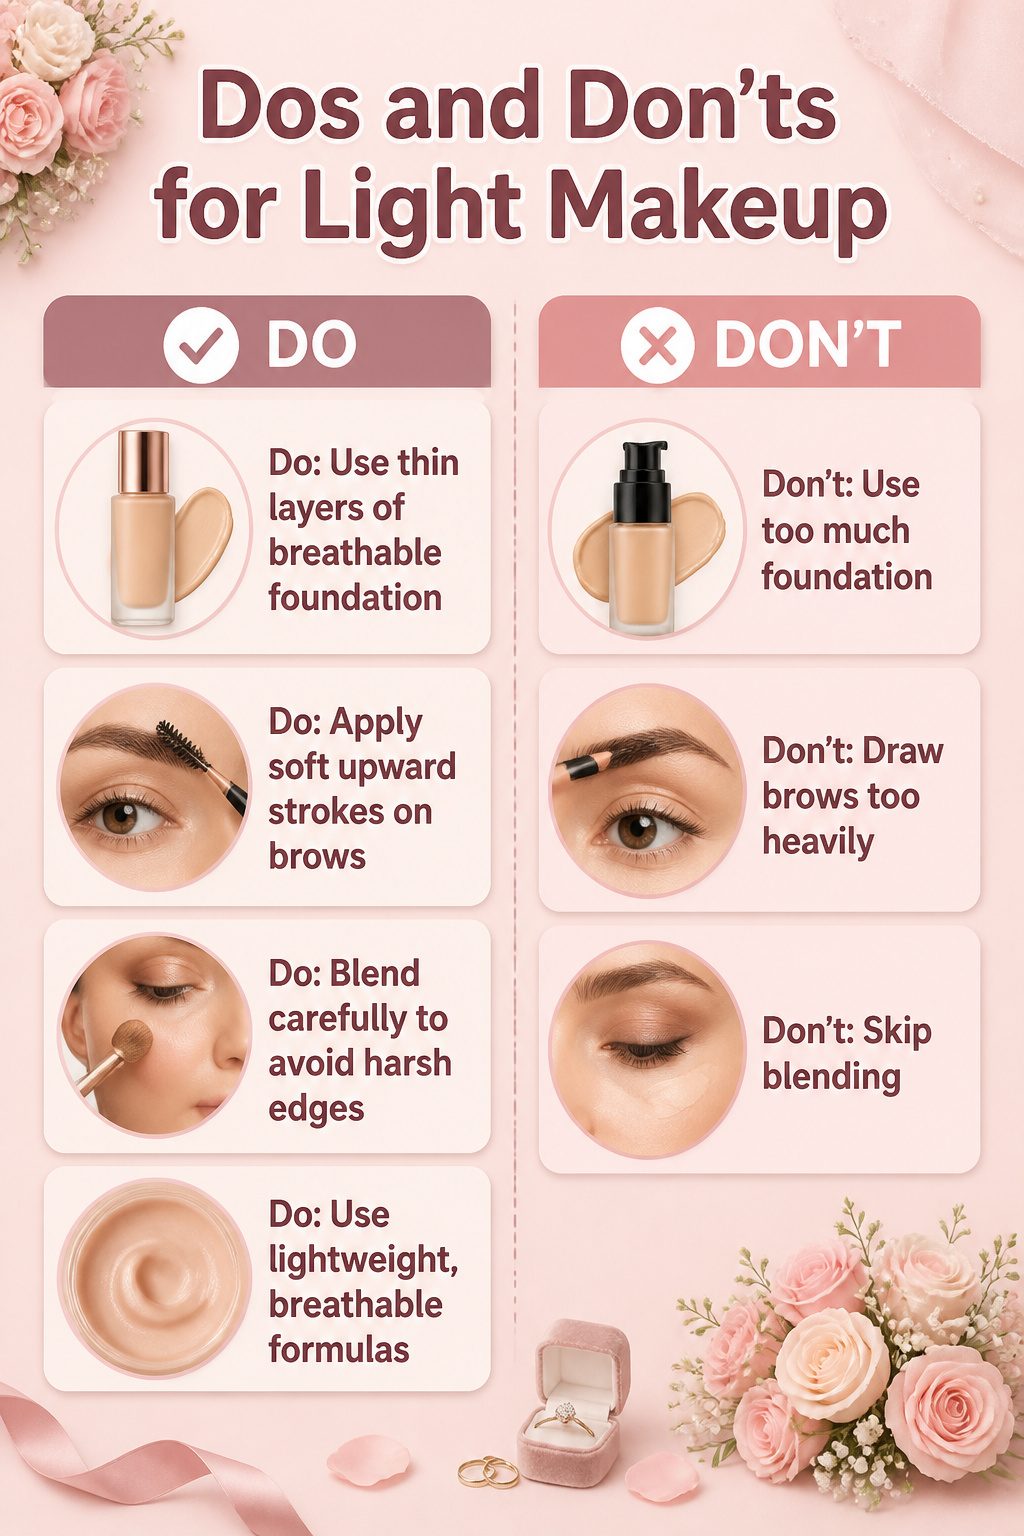
The fastest way to turn a light look heavy is using too much foundation. A full pump spread across the whole face sits on top of the skin instead of melting in, and by noon it has settled into every line. Tinted serum or a thin layer of breathable liquid, applied only where the tone actually needs evening out, keeps the finish skin-like.
Brows are another trap. A pencil drawn with the same pressure you’d use for a signature gives you blocks, not hairs. Soft, upward strokes that leave gaps between them read as real; tinted gel alone often does the job without any pencil at all.
Skipping blending leaves obvious borders that the eye catches instantly. The jawline, the edge of the eye socket, the place where concealer meets bare skin: these need thirty seconds of attention or the makeup announces itself.
Heavy formulas do the rest of the damage. A matte full-coverage foundation or a wax-thick brow pomade is built for a different look entirely. Lightweight, breathable textures are the only choice that stays true to the brief.
When Time Is Short
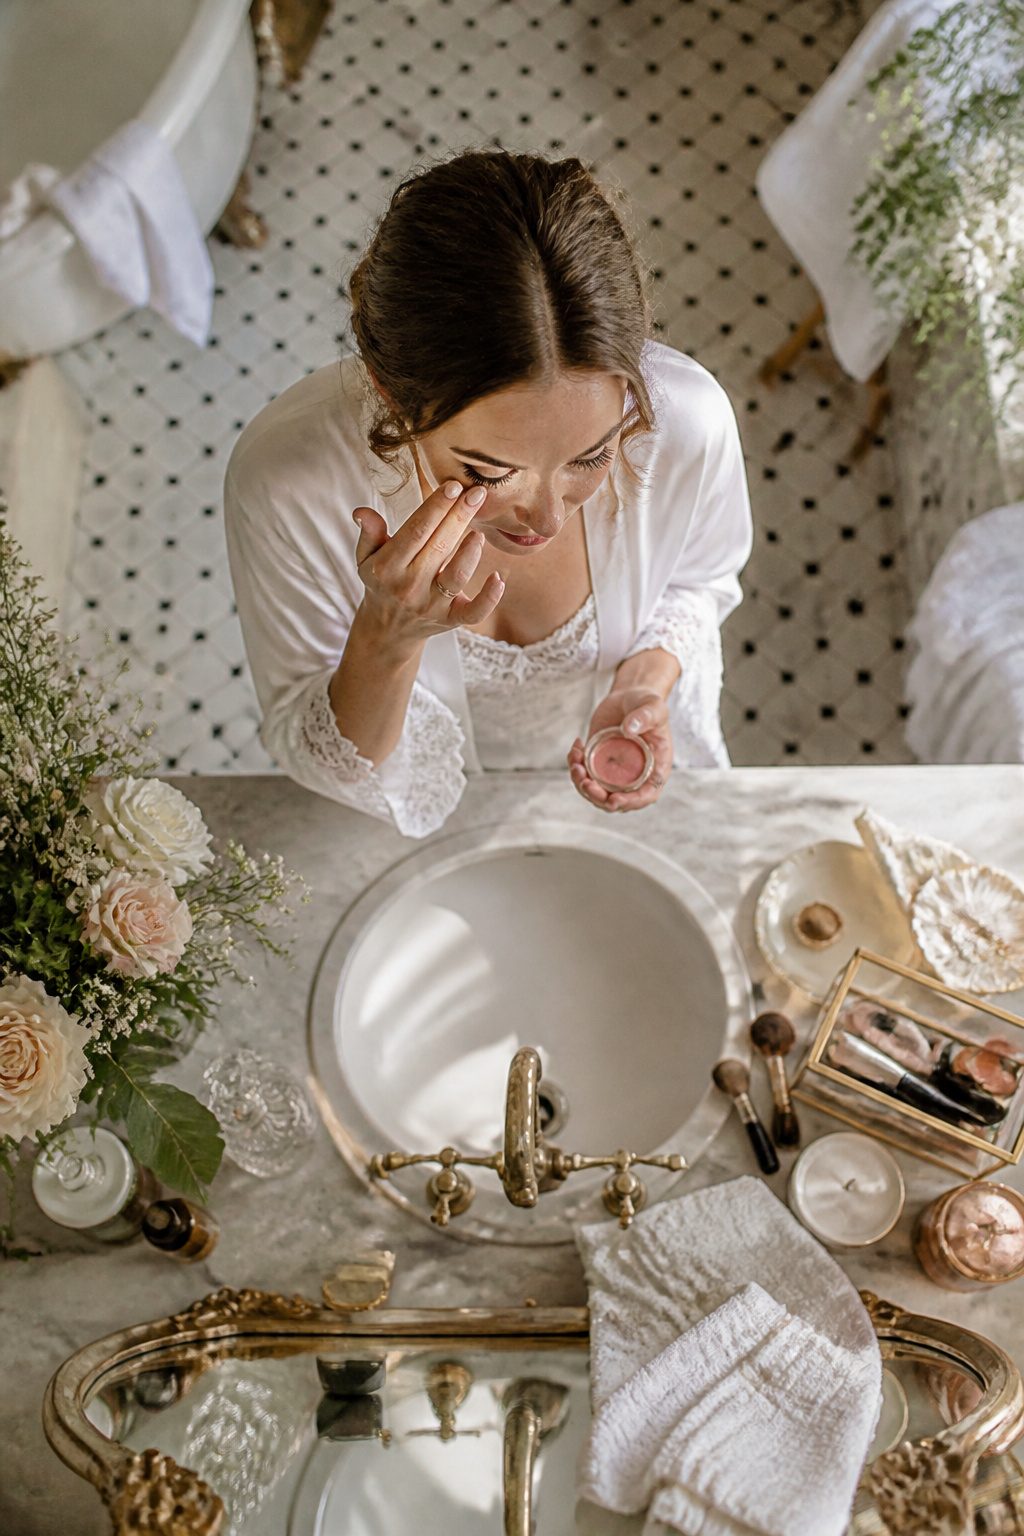
A morning-of wedding routine demands the same few products doing more than one job. Tinted moisturizer with a little concealer only where sleep did not happen, cream blush that also wakes up the lips, and a single wash of neutral shadow with mascara. The whole face in ten minutes, and it photographs like skin rather than like makeup.
Between ceremony and reception, the light look has a different enemy: heat and happy crying. Blot first, add nothing wet over anything already set. Powder on top of cream turns cakey fast, so press oil away with a clean tissue, then tap a tiny amount of concealer if redness broke through. A cream highlighter patted over the cheekbone catches candlelight for the evening without adding weight. The refresh takes five minutes in a bathroom mirror, and the face still reads as the same person from the first look to the last dance.
Frequently Asked Questions
How do you apply foundation so it looks natural?
Start with less than you think you need, about a pea-sized amount, and warm it between your fingers or tap it on with a damp sponge. Match the tone to your jawline, not your wrist, and test in daylight if possible. The goal is evening things out, not erasing them; a freckle or faint mark showing through is usually what makes the finish believable.
How to make simple makeup look good?
Prep your skin first by washing your face, then follow with a moisturizer that carries SPF so you are not layering separate sunscreen underneath. Give the moisturizer a full minute to absorb before moving on; rushing this step is how you end up with product sliding off by noon. A smooth, hydrated base lets you use less product overall, which is the whole point of keeping the look light.
What is the no-makeup trend?
The no-makeup trend is where people ditch non-essential products and rely on only a few essentials to enhance their features, creating the illusion they are not wearing makeup. Skin prep matters more here than anywhere else: clean skin, fast-absorbing moisturizer, then the thinnest possible layer of tint or serum. The goal is letting your actual texture show through while still looking polished.